Use this link and sign up for WP Engine and get 60 days of your service free! (by prepaying for an annual plan), then follow this migration guide to move your existing site over to WP Engine
Moving To WP Engine – The Easy Way With Vaultpress
I recently moved my site to WP Engine and followed their instructions, but it didn’t perfectly move my site over. Lots of my old posts have strange characters in the posts, and some things are out of place. So when it was time to move one of my other sites I found a way that worked better and moved my site perfectly! Follow the steps below and get guided through the process to migrate your site to WP Engine the easy way. If you find this helpful, you can show your appreciation by signing up for WP Engine via my link. (full disclosure, I may get paid if you sign up through me. But trust, I wouldn’t steer you wrong. If you’re on WordPress, you want WP Engine). Already signed up? No biggie, just share it out to your friends that are thinking of signing up. Ok, now on to the tutorial:
Migrate To WP Engine – Condensed Video Tutorial:
Preparing Your Current Site For Migration
Before you start the move, take the opportunity to clean house on your site. Look through your plugins and themes and get rid of anything you aren’t using or don’t need to have around. The smaller your site, the less time it will take to move. Think of this like moving in the real world — it’s usually a lot easier if you have less “stuff.”
Now, make sure all of your plugins are up to date, as well as being up to date on the latest version of wordpress. Once everything is updated, you can install the WPEngine Ready to check your site’s compatibility.
Backup your site with Vaultpress
If you’re not already using Vaultpress, then head on over and sign up. Vaultpress is backup site created by the makers of WordPress.For the purposes of migrating your site you can sign up for the Lite plan, which will cost $5. Vaultpress will back up your WordPress website entirely and make it easy to restore / migrate it over to WP Engine. There are no shortage of backup plugins for WordPress, and your current host may also offer backups, but Vaultpress offers the easiest restore function available, which is why it’s an essential tool for the migration process to WP Engine.
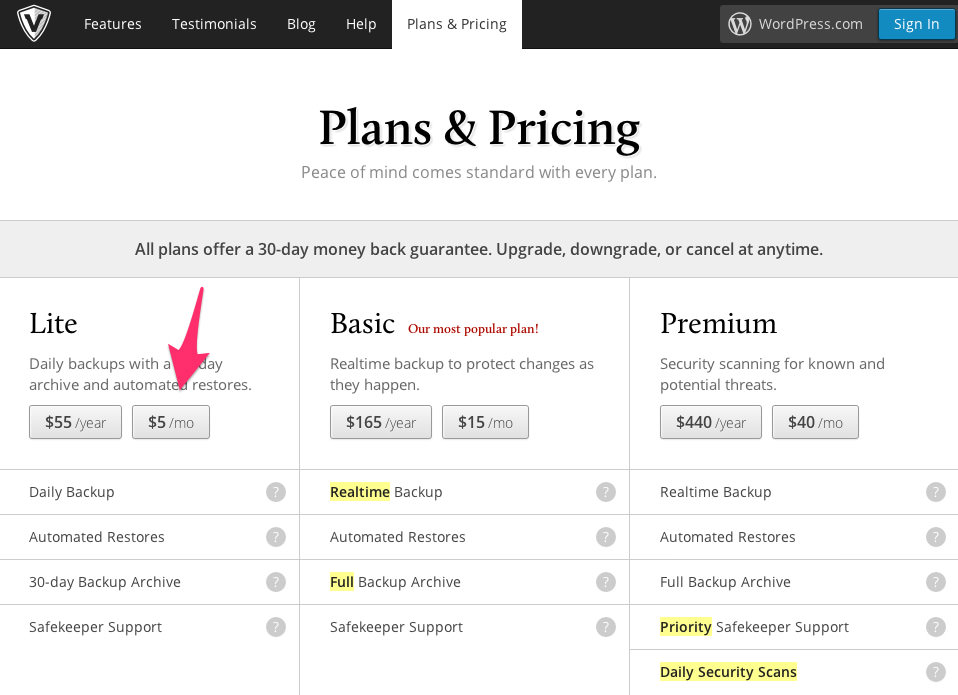
Once you sign up for a plan, install Vaultpress and enter your license key. Vaultpress will then begin creating it’s initial backup of your site. If you signed up for the lite plan, Vaultpress will continue to backup your site once per day. This is great because if you’re not quite ready to migrate while reading this then you can continue using your site and migrate the latest version when you’re ready.
Restore Your Site to Migrate To WP Engine
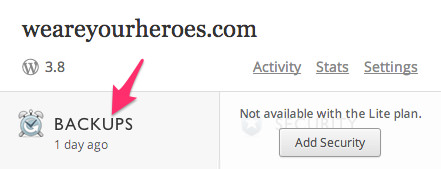
One of the best new features of Vaultpress is the ability to restore any of your backups to an alternate location. This makes it easy to migrate your current site to your new WP Engine install. To get started, head to your Vaultpress dashboard and click “backups” under the site you’re moving:
Next, choose your latest vaultpress back up and click restore:

You’ll be greeted with a popup, make sure all the boxes are checked so that it prepares a backup with your entire site. This is important!
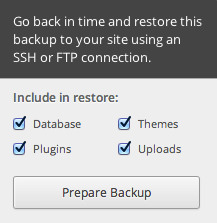
The default location is your current domain / current site, but you want to select alternate site.
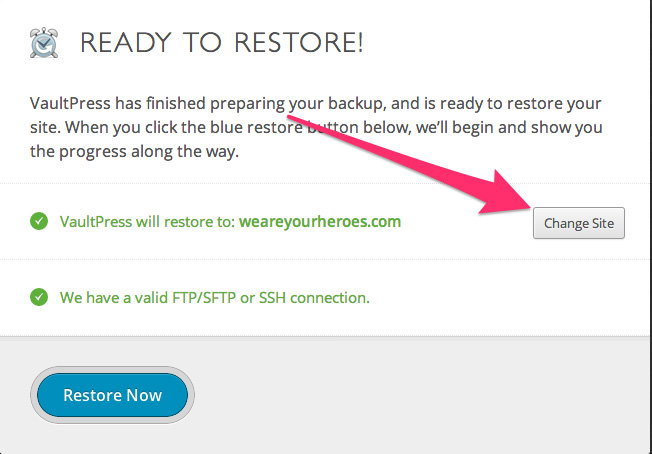
For alternate site location enter your WP Engine installation ie yoursite.wpengine.com:

Next you’ll need to provide Vaultpress with the SFTP information so that it can move your files to WP Engine. You can get or create this information in your WP Engine dashboard. I created a new user specifically for moving my site. Add a new user by clicking “Add Login”:

Create any user name you’d like, enter a password that you can remember, leave the path field blank, and make sure you select “Production” for the environment:

Now that you have SFTP user credentials, head back over to Vaultpress and enter the information in the corresponding fields. Make sure the port is set to 22. Now click “test and save connection”:
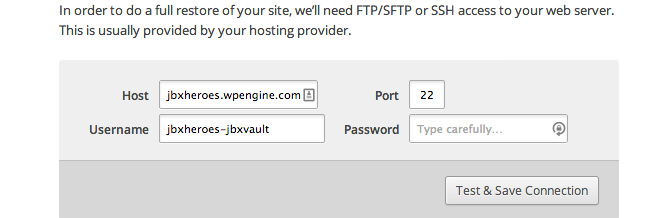
Once you enter the information, Vaultpress will test if it has the ability to access your WP Engine site. If everything is fine, click Restore Now.
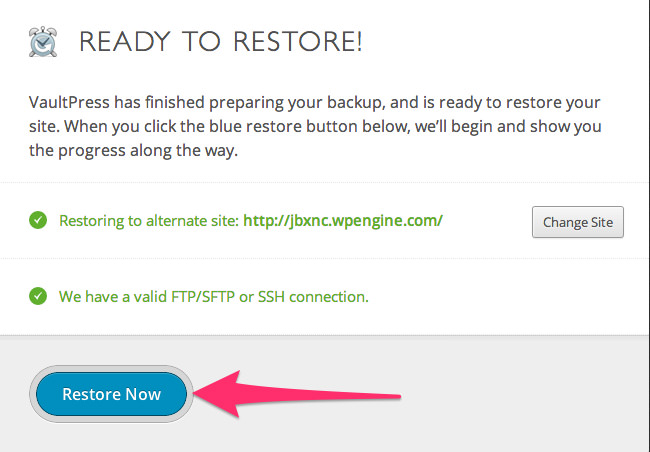
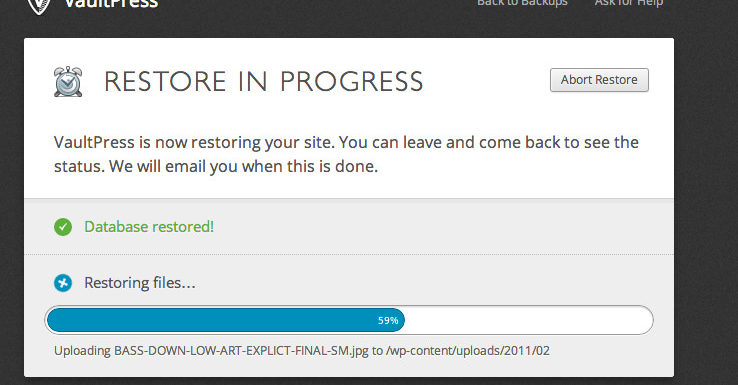
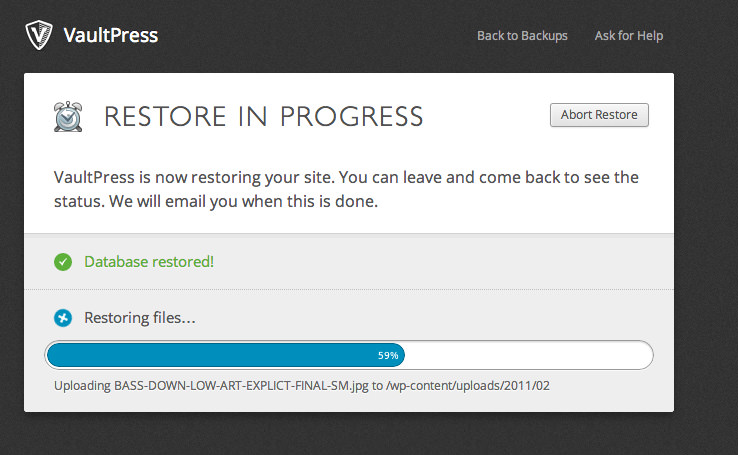
Vaultpress will now begin restoring/migrating your site to WP Engine. Depending on the size of your site, this could take a while.
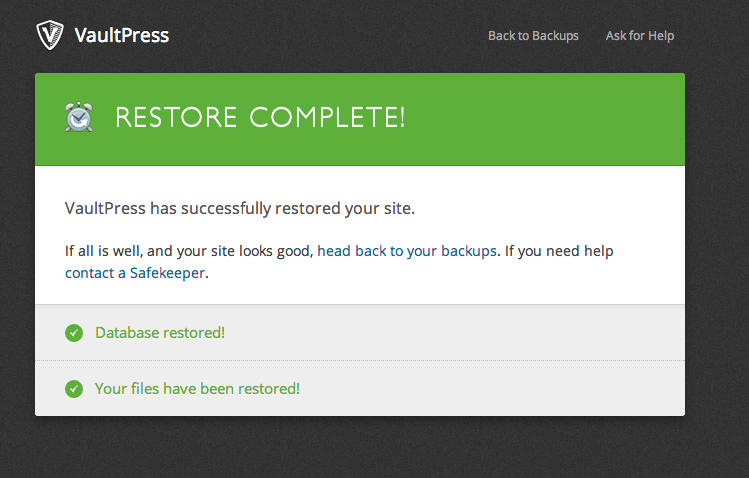
Once Vaultpress is done, it will display the following screen confirming your backup is complete:
Making Changes To WP Engine And Updating Your DNS
Now you can log in to the admin section of your WP Engine WordPress install. Since you’ve restored your site, your login information will be the same as your original/old Wordpress site. Take a look around and make sure everything is restored. If everything has been restored properly you can now make the appropriate DNS changes to your domain by following this guide. Also take this time to add your domain into the WP Engine dashboard following this guide.
Once the DNS information updates you’ll want to change your sites’s URL back to the original domain:
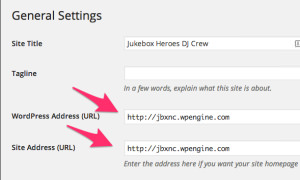
Once you complete that you’ll be up and running on your brand new WP Engine site!
All Done!
Hopefully you found this guide helpful. If so, sign up for WP Engine via our link if you haven’t signed up already. If you’ve already signed up, no biggie, just share this to anyone you know that may be thinking of signing up!
